I have several media sources across various web sites and computers and wanted a way to bring them all together in an organised structure that I can navigate from Kodi. Although Kodi offers adding sources from SMB, NFS, WebDAV etc, I needed a bit more flexibility. In my mind I needed to present a virtual file system to Kodi so set out on making this; my first plug-in.
The concept is very simple. There will be a MySQL database which represents the file system and the file nodes will have a URL (or endpoint) which points to the physical video file.
The plug-in was developed with Kodi 16 (Jarvis) on Windows 10.
Step 1: The Database Schema
Now, there are many ways a file system can be represented in a database. In this example I’ve opted for a single table for all the files and folders using a parentid relationship:
CREATE SCHEMA kodivfs;

CREATE TABLE `kodivfs`.`listing` (
 `id` INT UNSIGNED NOT NULL AUTO_INCREMENT,
 `parentid` INT NULL,
 `type` CHAR(1) NOT NULL,
 `name` VARCHAR(255) NOT NULL,
 `url` VARCHAR(255) NULL,
 PRIMARY KEY (`id`),
 UNIQUE INDEX `id_UNIQUE` (`id` ASC),
 INDEX `ix_parentid` (`parentid` ASC));
type is either F for a file or D for a directory.
Step 2: File and Folder Records
I’ll start off with making two “root” folders called Movies and TV. I will add files directly in to Movies and for TV I will create sub-folders for each TV show and the seasons.
Visually the structure will look like this:
+ Movies
  - The Shawshank Redemption
  - The Godfather
  - Pulp Fiction
  - Fight Club
+ TV
  + 24
    + Season 1
      - Episode 1: 12:00 A.M. - 1:00 A.M.
      - Episode 2: 1:00 A.M. - 2:00 A.M.
      - Episode 3: 2:00 A.M. - 3:00 A.M.
      - Episode 4: 3:00 A.M. - 4:00 A.M.
    + Season 2
      - Episode 1: 8:00 A.M. - 9:00 A.M.
      - Episode 2: 9:00 A.M. - 10:00 A.M.
      - Episode 3: 10:00 A.M. - 11:00 A.M.
      - Episode 4: 11:00 A.M. - 12:00 P.M.
  + Grimm
    + Season 1
      - Episode 1: Pilot
      - Episode 2: Bears Will be Bears
      - Episode 3: Beeware
      - Episode 4: Lonelyhearts
    + Season 2:
      - Episode 1: Bad Teeth
      - Episode 2: The Kiss
      - Episode 3: Bad Moon Rising
      - Episode 4: Quill
  + Suits
    + Season 1
      - Episode 1: Pilot
      - Episode 2: Errors and Omissions
      - Episode 3: Inside Track
Insert the two “root” folders, Movies and TV:
INSERT INTO `kodivfs`.`listing` (`type`, `name`) VALUES ('D', 'Movies');
INSERT INTO `kodivfs`.`listing` (`type`, `name`) VALUES ('D', 'TV');
Verify the ids for the folders created. In this case, Movies is id 1, TV is id 2:
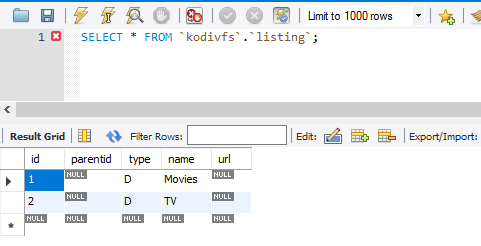
Insert records for the movies, ensuring the parentid is correct:
INSERT INTO `kodivfs`.`listing` (`parentid`, `type`, `name`, `url`) VALUES (1, 'F', 'The Shawshank Redemption', 'https://webserver1.privateserver.com/movies/TheShawShankRedemption.mkv');
INSERT INTO `kodivfs`.`listing` (`parentid`, `type`, `name`, `url`) VALUES (1, 'F', 'The Godfather', 'https://webserver1.privateserver.com/movies/TheGodfather.mkv');
INSERT INTO `kodivfs`.`listing` (`parentid`, `type`, `name`, `url`) VALUES (1, 'F', 'Pulp Fiction', 'https://webserver2.privateserver.com/movies/PulpFiction.avi');
INSERT INTO `kodivfs`.`listing` (`parentid`, `type`, `name`, `url`) VALUES (1, 'F', 'Fight Club', 'https://webserver2.privateserver.com/movies/FightClub.mkv');
Create the structure for TV ensuring the correct parentid is used for each level:
INSERT INTO `kodivfs`.`listing` (`parentid`, `type`, `name`) VALUES (2, 'D', '24');
INSERT INTO `kodivfs`.`listing` (`parentid`, `type`, `name`) VALUES (7, 'D', 'Season 1');
INSERT INTO `kodivfs`.`listing` (`parentid`, `type`, `name`) VALUES (7, 'D', 'Season 2');
INSERT INTO `kodivfs`.`listing` (`parentid`, `type`, `name`) VALUES (2, 'D', 'Grimm');
INSERT INTO `kodivfs`.`listing` (`parentid`, `type`, `name`) VALUES (10, 'D', 'Season 1');
INSERT INTO `kodivfs`.`listing` (`parentid`, `type`, `name`) VALUES (10, 'D', 'Season 2');
INSERT INTO `kodivfs`.`listing` (`parentid`, `type`, `name`) VALUES (2, 'D', 'Suits');
INSERT INTO `kodivfs`.`listing` (`parentid`, `type`, `name`) VALUES (13, 'D', 'Season 1');
And then the records for the TV episodes:
INSERT INTO `kodivfs`.`listing` (`parentid`, `type`, `name`, `url`) VALUES (8, 'F', 'Episode 1: 12:00 A.M. - 1:00 A.M.', 'https://webserver1.privateserver.com/tv/24/season1/1.mkv');
INSERT INTO `kodivfs`.`listing` (`parentid`, `type`, `name`, `url`) VALUES (8, 'F', 'Episode 2: 1:00 A.M. - 2:00 A.M.', 'https://webserver1.privateserver.com/tv/24/season1/2.mkv');
INSERT INTO `kodivfs`.`listing` (`parentid`, `type`, `name`, `url`) VALUES (8, 'F', 'Episode 3: 2:00 A.M. - 3:00 A.M.', 'https://webserver1.privateserver.com/tv/24/season1/3.mkv');
INSERT INTO `kodivfs`.`listing` (`parentid`, `type`, `name`, `url`) VALUES (8, 'F', 'Episode 4: 3:00 A.M. - 4:00 A.M.', 'https://webserver1.privateserver.com/tv/24/season1/4.mkv');

INSERT INTO `kodivfs`.`listing` (`parentid`, `type`, `name`, `url`) VALUES (9, 'F', 'Episode 1: 8:00 A.M. - 9:00 A.M.', 'https://webserver1.privateserver.com/tv/24/season2/1.mkv');
INSERT INTO `kodivfs`.`listing` (`parentid`, `type`, `name`, `url`) VALUES (9, 'F', 'Episode 2: 9:00 A.M. - 10:00 A.M.', 'https://webserver1.privateserver.com/tv/24/season2/2.mkv');
INSERT INTO `kodivfs`.`listing` (`parentid`, `type`, `name`, `url`) VALUES (9, 'F', 'Episode 3: 10:00 A.M. - 11:00 A.M.', 'https://webserver1.privateserver.com/tv/24/season2/3.mkv');
INSERT INTO `kodivfs`.`listing` (`parentid`, `type`, `name`, `url`) VALUES (9, 'F', 'Episode 4: 11:00 A.M. - 12:00 P.M.', 'https://webserver1.privateserver.com/tv/24/season2/4.mkv');
… etc…
Step 3: The plug-in
Start with creating a new folder called plugin.video.vfsdemo and inside there create a new text file called addon.py.
Open addon.py with Notepad (or your text editor of choice) and paste the following code:
import sys
import urllib
import urlparse
import xbmcgui
import xbmcplugin
import mysql.connector

base_url = sys.argv[0]
addon_handle = int(sys.argv[1])
args = urlparse.parse_qs(sys.argv[2][1:])

def build_url(query):
    return base_url + '?' + urllib.urlencode(query)

parentid = args.get('parentid', None)

conn = mysql.connector.connect(user='kodi', password='kodi', host='127.0.0.1', database='kodivfs')
try:
    cursor = conn.cursor(buffered=True)
    try:
        if parentid is None:
          query = "SELECT `id`, `name`, `type`, `url` FROM `kodivfs`.`listing` WHERE parentid IS NULL ORDER BY `type` DESC, name ASC"
        else:
          query = 'SELECT `id`, `name`, `type`, `url` FROM `kodivfs`.`listing` WHERE parentid = {} ORDER BY `type` DESC, name ASC'.format(parentid[0])

        cursor.execute(query)

        for (id, name, type, url) in cursor:
          if type == 'F':
            li = xbmcgui.ListItem(name, iconImage='DefaultVideo.png')
            xbmcplugin.addDirectoryItem(handle=addon_handle, url=url, listitem=li)
          elif type == 'D':
            li = xbmcgui.ListItem(name, iconImage='DefaultFolder.png')
            xbmcplugin.addDirectoryItem(handle=addon_handle, url=build_url({'parentid': id}), listitem=li, isFolder=True)

         xbmcplugin.endOfDirectory(addon_handle)
     finally:
       cursor.close();
finally:
 conn.close();
The code checks to see if a parentid parameter was passed through to the plug-in, if it was then select the items from the parent folder. It then works it’s way through the results calling xmbc.addDirectoryItem() to populate the list you’ll see in Kodi.
Next create another file in the same folder called addon.xml and populate it with the following:
<?xml version="1.0" encoding="UTF-8" standalone="yes"?>
<addon id="plugin.video.vfsdemo" name="Virtual File System Demo Add-on" version="1.0.0" provider-name="blog.petejefferson.co.uk">
 <requires>
   <import addon="xbmc.python" version="2.1.0"/>
   <import addon="script.module.myconnpy" version="1.1.7" />
 </requires>
 <extension point="xbmc.python.pluginsource" library="addon.py">
   <provides>video</provides>
 </extension>
 <extension point="xbmc.addon.metadata">
   <summary lang="en_gb">Virtual file system provider</summary>
   <description lang="en_gb">Represent a file system using a MySQL backend</description>
   <disclaimer lang="en_gb"></disclaimer>
   <language></language>
   <platform>all</platform>
   <license></license>
   <forum></forum>
   <website></website>
   <email></email>
   <source></source>
   <news></news>
   <assets>
   <icon></icon>
   <fanart></fanart>
   <screenshot></screenshot>
   </assets>
 </extension>
</addon>
Create a zip file of the plugin.video.vfsdemo folder (in Windows Explorer you can right click and choose Send to > Compressed (zipped) folder). Copy the file to a location accessible from Kodi.
Step 4: Installing to Kodi
Navigate to System > Settings > Add-ons in Kodi.
Choose “Install from zip file” and navigate to plugin.video.vfsdemo.zip.
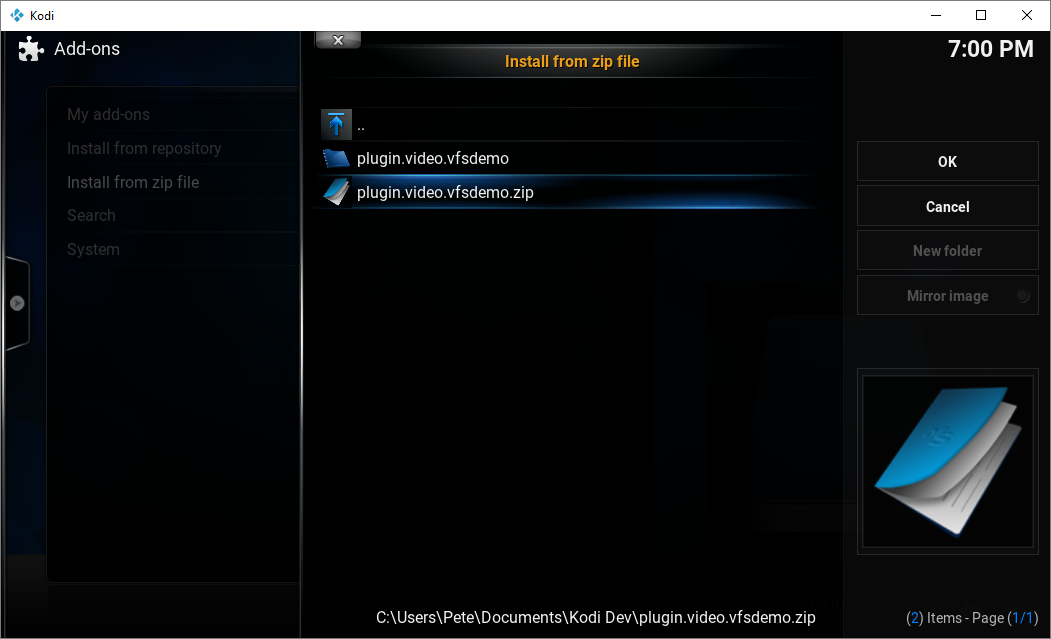
And click OK.
All being well you will see a notification that the add-on was successfully installed.
Step 5: Test
Navigate to Videos > Add-ons and select the Virtual File System Demo Add-on.
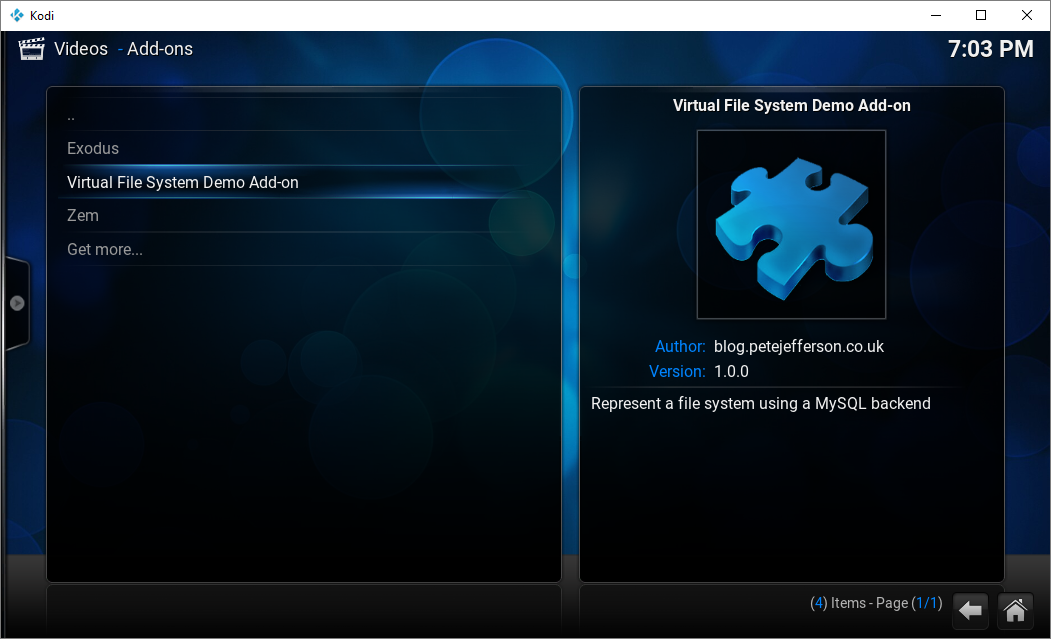
You’ll then be presented by the contents of the “root” folder, in this case Movies and TV. Going in to Movies will show all files that have that parentid:
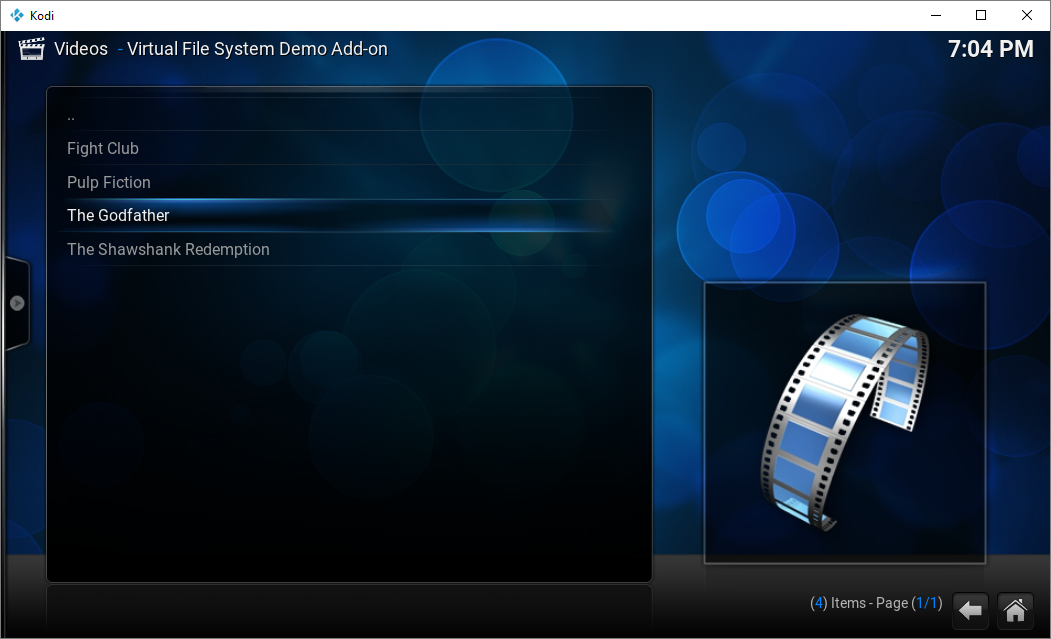
Go up a folder and explore TV:
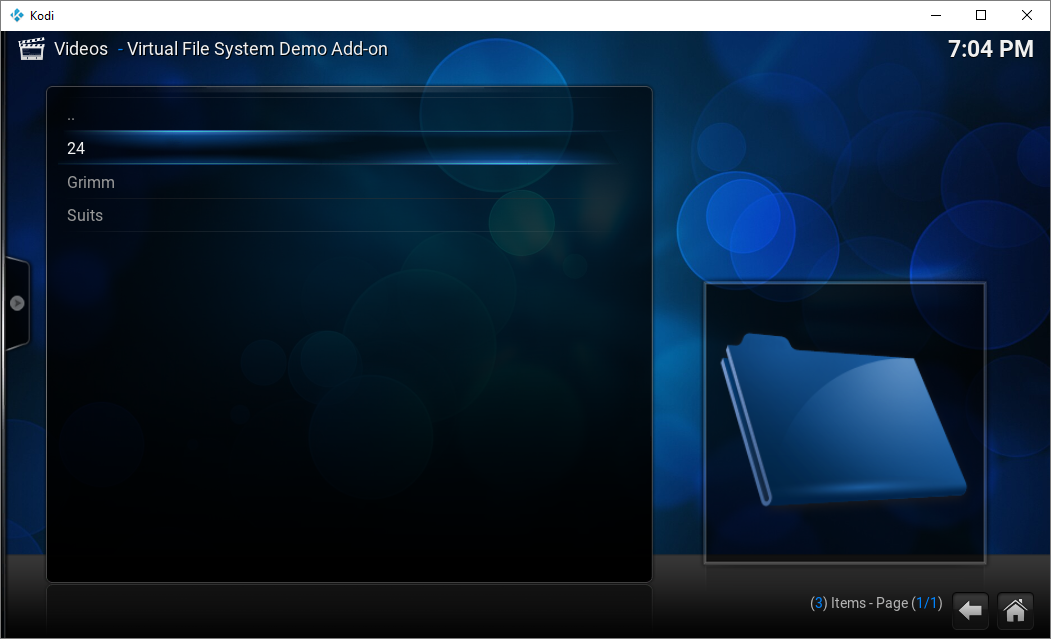
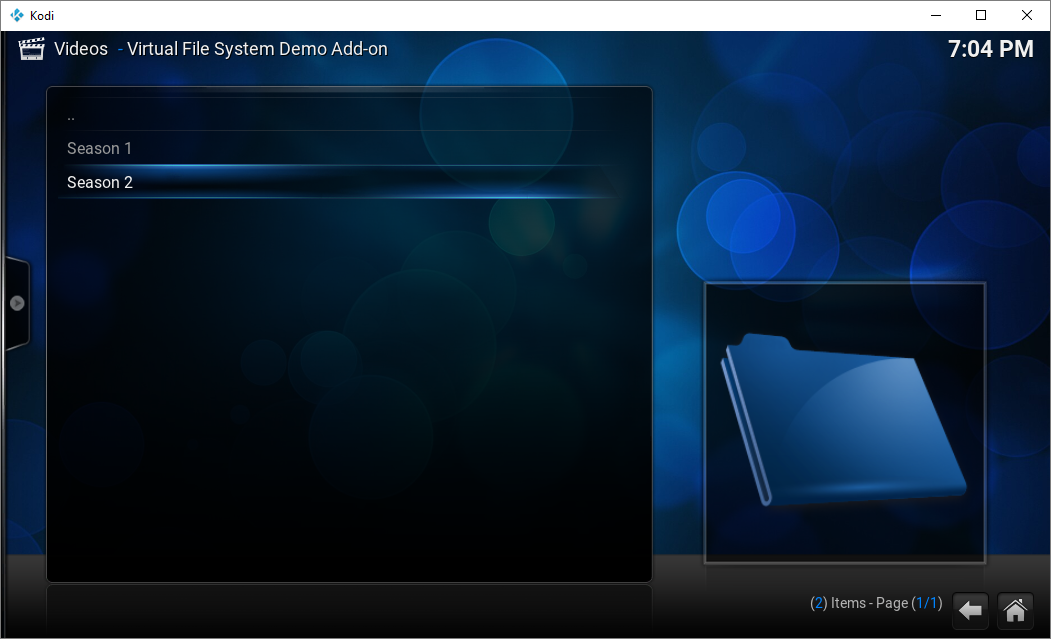
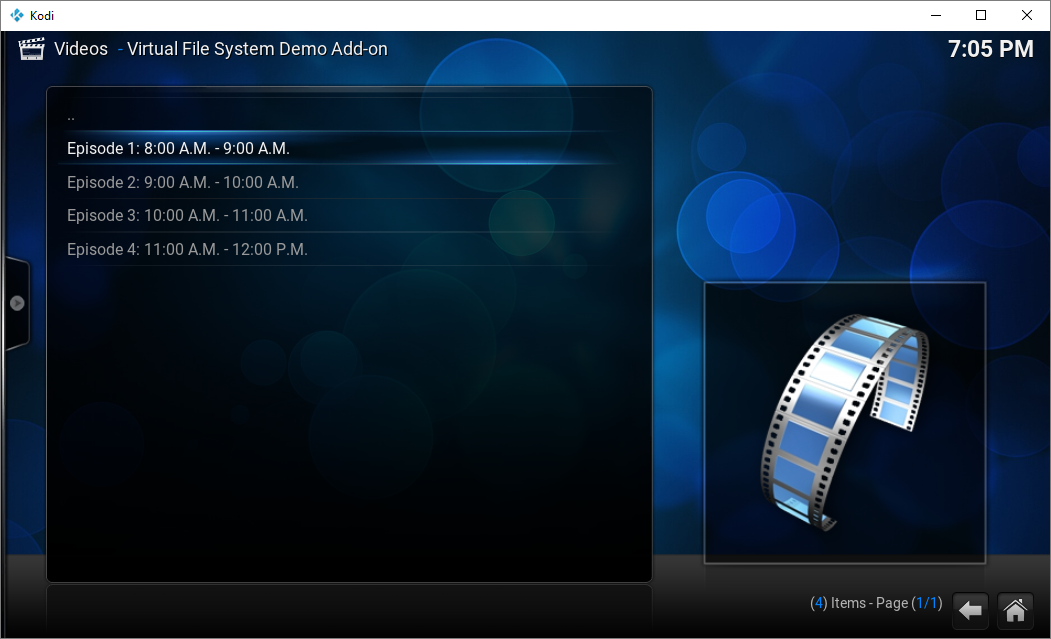
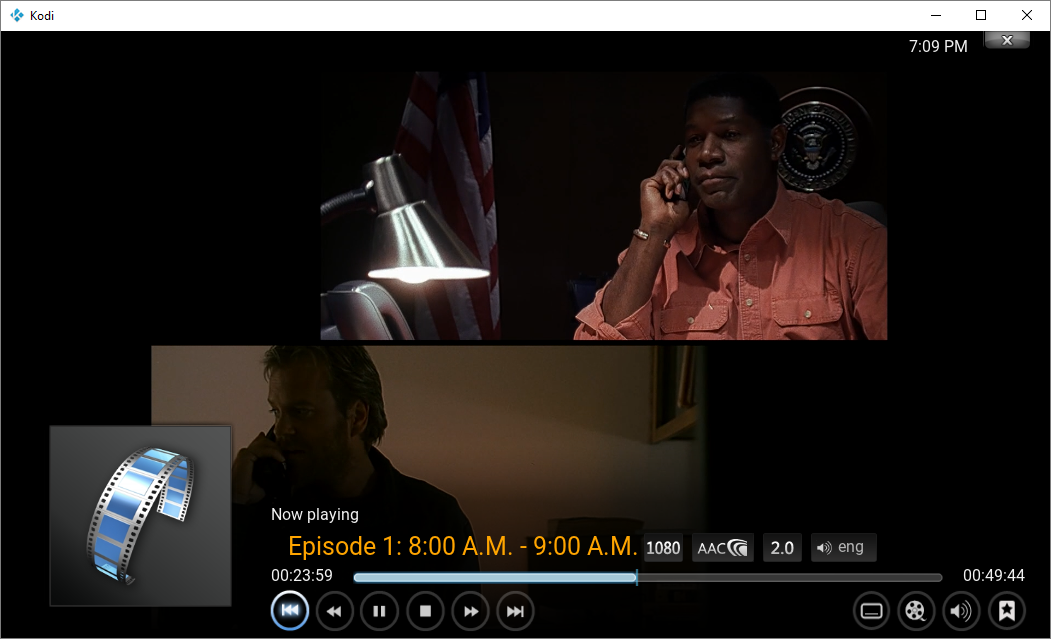
If you have your URLs set up correctly in the database, you will be able to watch your videos.
 – Looking at the male mini DIN plug. Pins have been numbered.